Jenkins - Pipeline as Code - 測試報告
這篇的主題是測試報告,接續 Jenkins - Pipeline as Code - 封存檔案及在 Ubuntu 使用 Google Test兩篇文章,這篇要整合起來
Build
首先,原本的 C++ 專案,新增 Google Test 在 git branch gtest,所以要修改原本 Jenkinsfile 指定 branch
git branch: 'gtest', url: 'https://github.com/allyusd/helloworld.cpp.git'
同時新增建置 unit test 的部份
sh 'g++ unittest.cpp -o unittest -Igtest/include -Lgtest/lib -lgtest -lpthread'
別忘了也要封裝 unittest 檔案,才能在另一個 agent 中執行
archiveArtifacts artifacts: 'helloworld,unittest'
Test
接著修改 Test 階段,將原本執行 helloworld 換成 unittest,並且加上參數 –gtest_output=”xml:report.xml” 產生測試報告
./unittest --gtest_output="xml:report.xml"
接著就要將測試報告上傳到 Jenkins,才能在 Web UI 出現結果
post {
    always {
        junit '*.xml'
    }
}
結果
完整修改後的內容如下
pipeline {
    agent none
    stages {
        stage('Build') {
            agent {
                label 'cpp'
            }
            steps {
                echo 'Building..'
                git branch: 'gtest', url: 'https://github.com/allyusd/helloworld.cpp.git'
                sh 'g++ helloworld.cpp -o helloworld'
                sh 'g++ unittest.cpp -o unittest -Igtest/include -Lgtest/lib -lgtest -lpthread'
            }
            post {
                success {
                    archiveArtifacts artifacts: 'helloworld,unittest'
                }
            }
        }
        stage('Test') {
            agent {
                label 'test'
            }
            steps {
                echo 'Testing..'
                sh '''#!/bin/bash
                curl -O ${BUILD_URL}artifact/unittest
                chmod +x unittest
                ./unittest --gtest_output="xml:report.xml"
                '''
            }
            post {
                always {
                    junit '*.xml'
                }
            }
        }
        stage('Deploy') {
            steps {
                echo 'Deploying....'
            }
        }
    }
}
如果要使用已建立好的檔案,同樣在 https://github.com/allyusd/jenkins-pipeline.git,這次是 test-report branch
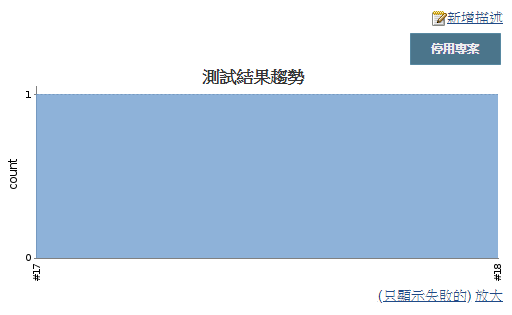
執行後,在專案主頁會出現測試結果趨勢圖

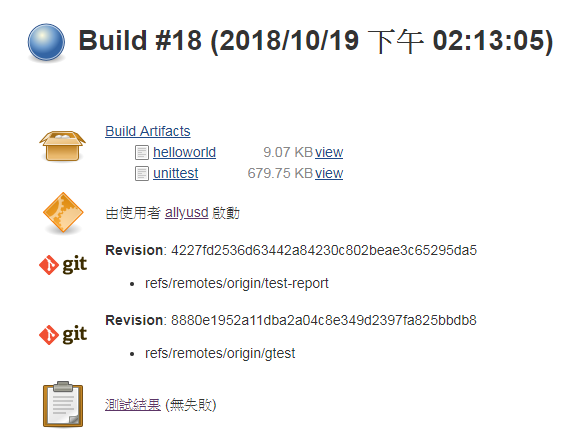
並且在建置頁面會出現測試結果,如果有失敗的測試,這邊可以查閱

留言